
How To
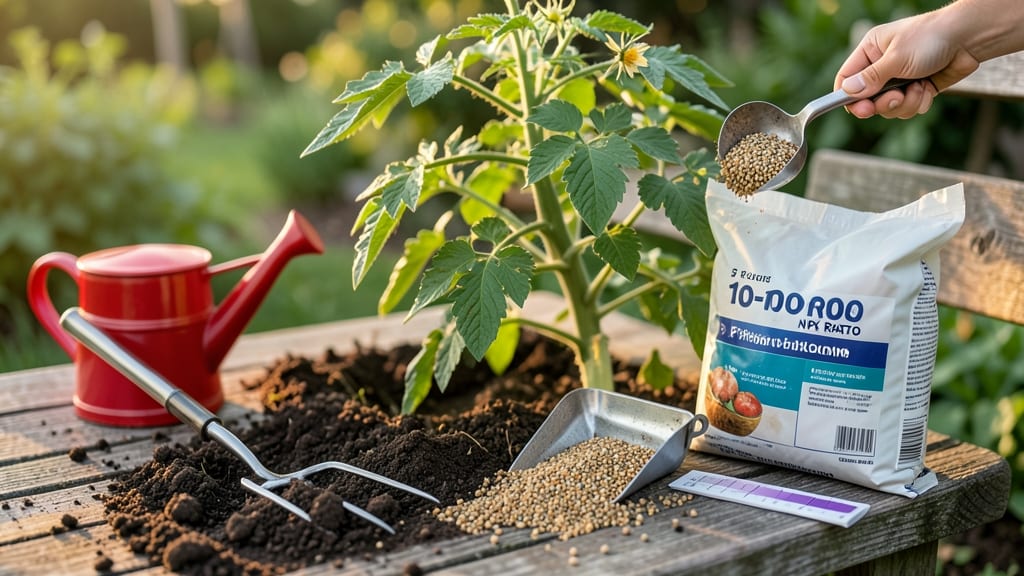
Your plants are starving—even if they look green—but how to add phosphorus and potassium to soil is simpler than you think. 🌱 Phosphorus and potassium deficiencies show up as weak stems, poor root growth, and half-hearted blooms, and the fix isn’t as complicated as it seems.
I’ve turned around struggling gardens in just one season using these two simple nutrients, and you can too without breaking the bank or harming your soil long-term.
The secret isn’t guessing—it’s knowing what your soil needs. A quick soil test (or just observing yellowing leaves or stunted growth) tells you whether you’re dealing with phosphorus for roots or potassium for overall strength.
Organic options like bone meal, wood ash, or composted manure work slowly but safely, while synthetic fertilizers like 5-10-10 or 0-0-50 give an instant boost when plants are desperate.
Within weeks, you’ll see thicker stems, deeper roots, and more abundant flowers—the kind that make neighbors ask, “What’d you do?” The key is balancing these nutrients with nitrogen (the growth fuel) so plants don’t get top-heavy or burn from too much of a good thing.
I’ll show you how to apply them without overdoing it.
This works for vegetables, flowers, and even lawns, and the methods scale from small containers to full garden beds. No more guessing games—just stronger plants that reward your effort. Let’s get those roots and blooms thriving.
📚 In This Guide
- What you need
- Instructions
- Tips and common mistakes
- Wrapping up and next steps
What you need
- ● Phosphorus sources: Bone meal (3-4-0 NPK ratio) – 3–5 lbs per 100 sq ft (great for root development)
- ● Rock phosphate (0-3-0 NPK) – 5–10 lbs per 100 sq ft (slow-release, long-term fix)
- ● Composted manure (e.g., cow, chicken, or bat) – 2–3 inches spread evenly (adds P + organic matter)
- ● Potassium sources: Potassium sulfate (0-0-50 NPK) – 1–2 lbs per 100 sq ft (fast-acting, no chlorine)
- ● Greensand (0-0-8 NPK) – 5–10 lbs per 100 sq ft (slow-release, improves soil structure)
- ● Wood ash (potassium-rich) – 1–2 lbs per 100 sq ft (use sparingly; test pH first!)
- ● Garden gloves (to protect your hands from dust/irritants)
- ● Garden fork or tiller (for mixing amendments into soil)
- ● Soil test kit (DIY or lab-tested; critical to avoid over/under-application!)
- ● Watering can or hose (to settle amendments into soil)
- ● Measuring scoop or scale (for precise application)
- ○ Optional (but helpful): Compost or worm castings (to enhance microbial activity)
- ● Mulch (straw, leaves, or grass clippings to retain moisture)
- ● pH test strips (phosphorus availability drops in acidic soil)
Step-by-step instructions for boosting soil phosphorus and potassium
Here's the fast, science-backed method I use to give plants the nutrients they crave for robust growth.
🌱 Step 1: Test Your Soil First
Before adding anything, grab a soil test kit from your local extension office or garden center. Phosphorus and potassium levels are measured in parts per million (ppm), with ideal ranges being 30-50 ppm for phosphorus and 100-200 ppm for potassium. If your test shows deficiency, you'll know exactly how much to adjust.
I always test because over-applying these nutrients can lead to imbalances. For example, too much phosphorus without nitrogen causes stunted growth, while excess potassium without magnesium leads to yellowing between leaf veins. A simple test prevents costly mistakes.
💧 Step 2: Choose the Right Amendments
For phosphorus, I reach for bone meal (3-4% phosphorus) or rock phosphate (12-18% phosphorus) for slow-release benefits. Bone meal works best for root crops and flowering plants, while rock phosphate suits long-term soil building. For potassium, greensand (3-5% potassium) or potassium sulfate (17-22% potassium) are my go-tos.
Mix amendments directly into the top 6-8 inches of soil during planting or early spring. I like to use a trowel to create trenches about 4 inches deep, add the amendment, then backfill. This prevents nutrient loss from leaching and ensures roots encounter them immediately.
☀️ Step 3: Apply at Critical Growth Stages
Timing matters more than you'd think. For phosphorus, apply 4-6 weeks before flowering when plants need energy for root and bloom development. For potassium, add it 4-6 weeks before harvest to boost fruit and flower quality. I mark my calendar because missing these windows means wasted effort.
Lightly water the soil after applying amendments to help them settle. Avoid heavy watering right away—it can wash nutrients too deep for young roots to access. Instead, use 1-2 inches of water spread over 2-3 days to encourage gradual absorption.
✂️ Step 4: Monitor and Reapply as Needed
Watch for signs of deficiency: purple stems (phosphorus deficiency) or yellowing leaf edges (potassium deficiency). If you see these, reapply a light dose (half the initial amount) and water thoroughly. I keep a small notebook by my garden to track which plants respond best to which amendments.
For established plants, a slow-release approach works best. I blend 1 tablespoon of bone meal and 1 tablespoon of greensand per square foot of garden bed annually. This maintains steady nutrient levels without risk of overloading the soil.
⏰ Step 5: Pair With Organic Matter
Never apply phosphorus and potassium alone—they work best with compost or well-rotted manure. I mix 2-3 inches of compost into the topsoil before adding amendments. This improves soil structure and provides a balanced nutrient profile that plants can utilize efficiently.
Real talk: If your soil is sandy or clay-heavy, these amendments won't work as well. In those cases, I add 1 part peat moss or coconut coir to 3 parts soil to help retain nutrients. The goal is to create an environment where roots can access what they need without competition.
Tips & tricks for boosting soil phosphorus and potassium
Avoid these common pitfalls—and how to sidestep every one—to get the most out of your soil amendments without wasting time or money.
Soil Test Precision: Don't rely on guesswork when interpreting your soil test results. The ideal range of 30-50 ppm for phosphorus and 100-200 ppm for potassium is a starting point, but local soil conditions can shift these targets. For example, sandy soils may need slightly higher potassium levels to prevent leaching, while clay soils might require more phosphorus to penetrate compacted layers. Always cross-reference your test results with local gardening resources or extension office recommendations.
Amendment Application Strategy: When mixing amendments into the 6-8 inches of topsoil as instructed, work in sections to avoid overworking the soil. I divide my garden beds into 4-inch-deep trenches using a trowel, add the amendments, then backfill immediately. This method prevents nutrient loss from wind or rain while keeping the soil structure intact. For larger garden beds, consider using a broadfork to aerate the soil before adding amendments—this creates channels for roots and nutrients to move freely.
Timing Is Everything: The 4-6 week window before flowering for phosphorus and 4-6 week window before harvest for potassium might seem flexible, but missing these timelines can significantly reduce effectiveness. I mark my garden calendar with colored tabs to track these critical periods. For container plants, which grow faster, you may need to adjust these windows to 3-4 weeks instead. The key is to ensure plants have access to these nutrients when they need them most for energy transfer and fruit development.
Watering Wisdom: After applying amendments, resist the urge to water heavily right away. The recommended 1-2 inches of water over 2-3 days allows nutrients to settle into the soil profile gradually. I use a rain gauge or tuna can (with the top cut off) to measure water accurately. For sandy soils, you might need to water more frequently to prevent nutrients from washing away, while clay soils may require less frequent but deeper watering to encourage downward movement.
Pro Tips for Add Phosphorus And Potassium To Soil
- Avoid these common pitfalls—and how to sidestep every one—to get the most out of your soil amendments without wasting...
- Soil Test Precision: Don't rely on guesswork when interpreting your soil test results. The ideal range of 30-50 ppm f...
- Amendment Application Strategy: When mixing amendments into the 6-8 inches of topsoil as instructed, work in sections...
Frequently asked questions
Got questions about boosting your soil with phosphorus and potassium? You’re not alone!
Here are some of the most common concerns—and straightforward answers—to help you get it right the first time.
How often should I add phosphorus and potassium to my soil?
For most plants, applying phosphorus (P) and potassium (K) once a year—ideally in early spring or fall—is plenty. Heavy feeders like tomatoes or roses may need a mid-season boost. Always check soil test results to avoid overdoing it, as excess P can harm soil health.
Can I use coffee grounds or banana peels to add potassium?
Yes! Both are natural potassium sources, but they’re not as potent as commercial fertilizers. Coffee grounds add a little K (and nitrogen), while banana peels are rich in potassium. For best results, compost them first or use them as a top-dressing. Pair them with synthetic or organic fertilizers for stronger results.
What’s the cheapest way to add phosphorus and potassium?
Skip the fancy fertilizers—try these budget-friendly options:
- Wood ash (adds potassium but use sparingly—it raises pH)
- Crushed eggshells (slow-release calcium + tiny phosphorus)
- Manure (composted) (balanced nutrients, but age it for 6+ months)
- Greensand or langbeinite (mineral-based, affordable in bulk)
Will adding phosphorus and potassium burn my plants?
Only if you overapply or use highly concentrated fertilizers (like straight P or K salts). Always:
- Follow package instructions for rates
- Water soil thoroughly before and after application
- Avoid direct contact with plant stems/leaves
How do I know if my soil already has enough phosphorus and potassium?
Get a soil test—it’s the only sure way! Most extension offices or garden centers offer affordable tests ($15–$30). Look for results labeled “available P” and “exchangeable K”. If levels are medium to high, skip the fertilizer and focus on organic matter (like compost) instead.
Wrapping up and next steps
Adding phosphorus and potassium to your soil doesn’t have to be complicated—just follow these simple steps to give your plants the boost they need for stronger roots and vibrant blooms! 🌱 Whether you’re using organic options like banana peels or manure, or opting for synthetic fertilizers, consistency is key.
Test your soil regularly to fine-tune your approach and watch your garden thrive.
Now that you’re armed with the know-how, roll up your sleeves and get growing! Start with a small patch of soil, observe the changes, and gradually expand your efforts. Happy gardening—your plants will thank you! 🌟