
Container Gardens
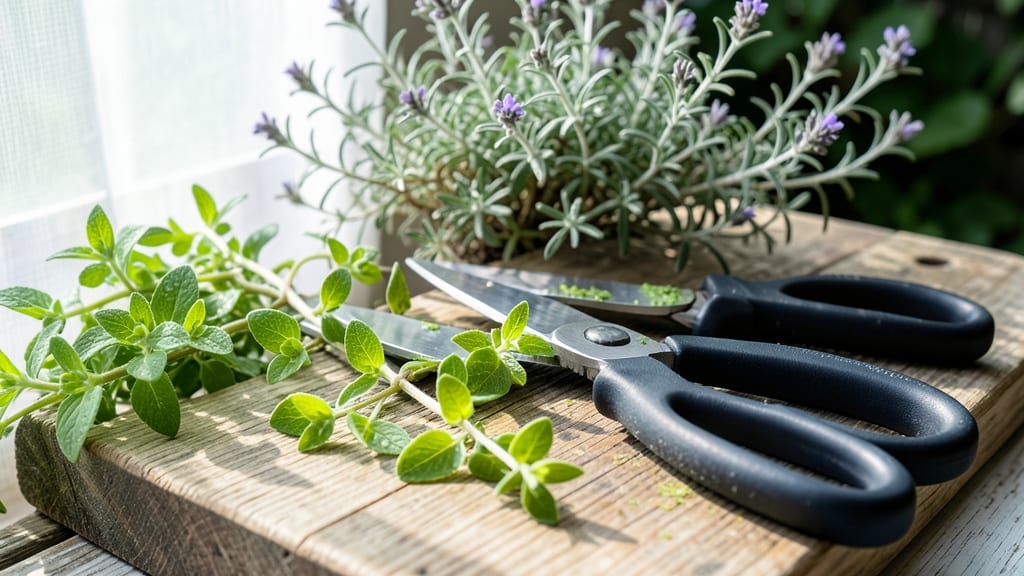
Revitalize your thyme plants with these science-backed pruning techniques that encourage bushier growth and prevent woody stems. Learn when, how, and why to trim for year-round vitality.
Springtime Renewal Cutting Method
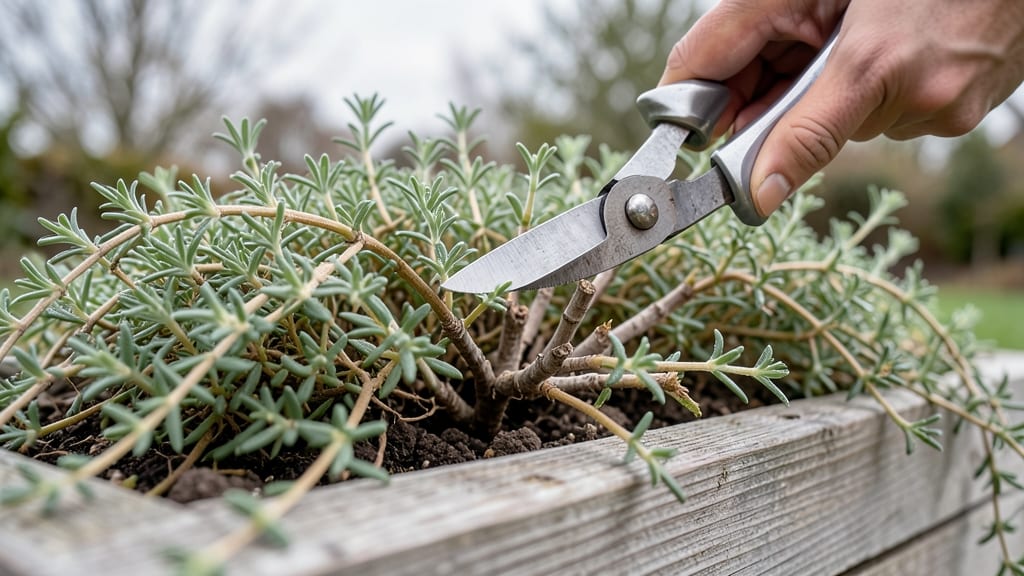
Spring is the perfect time to wake up your thyme plants after their winter slumber with a strategic renewal cut. This method focuses on removing dead stems and encouraging fresh foliage, which is especially beneficial for gardeners in temperate climates where winters can be harsh.
Start by trimming back any brown or woody stems to just above the base, using clean, sharp pruners. Aim to cut back about one-third of the plant’s height to stimulate new growth. Focus on the outer edges to maintain a full, rounded shape, and avoid cutting into old wood, as thyme struggles to regrow from there.
This technique not only rejuvenates your thyme but also helps prevent woody stems from taking over, keeping your plant lush and productive. It’s ideal for gardeners who want to give their thyme a fresh start after winter. 🌱
Summer Harvest Pruning Technique
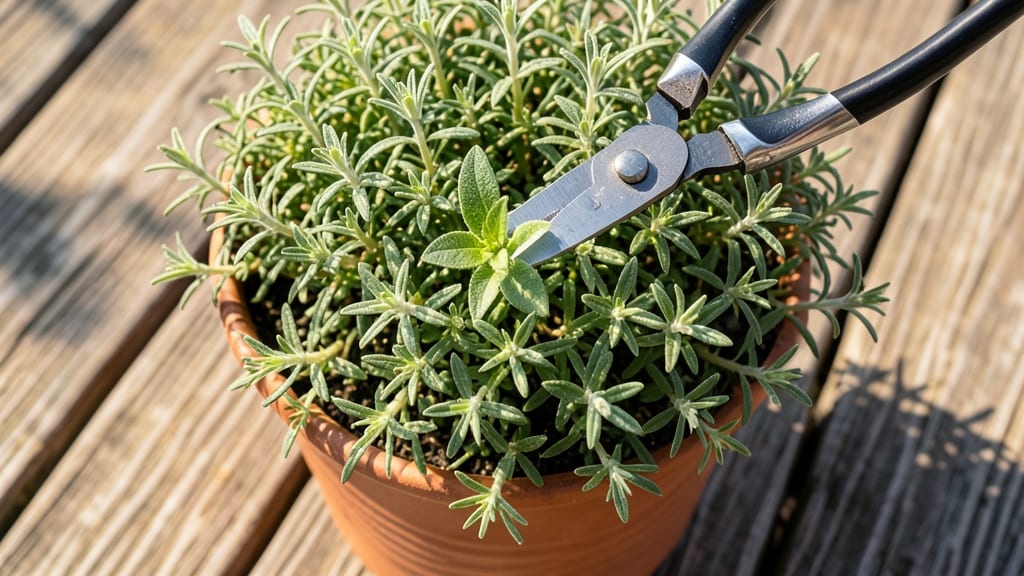
Summer is the perfect time to harvest thyme while keeping your plant bushy and productive. Unlike other pruning methods, this technique lets you collect flavorful sprigs for cooking while encouraging more growth—ideal for container gardeners with limited space.
Simply snip stems just above a leaf node (where leaves meet the stem) using clean scissors. This redirects energy to side branches, creating a fuller plant. For container thyme, harvest stems in the morning when oils are most concentrated, and use them fresh or dry for later. Repeat every 4-6 weeks to maintain shape and productivity.
This method works especially well for lemon thyme or French thyme, giving you both fresh herbs and a thriving plant. 🌿
Fall Cleanup Pruning Strategy
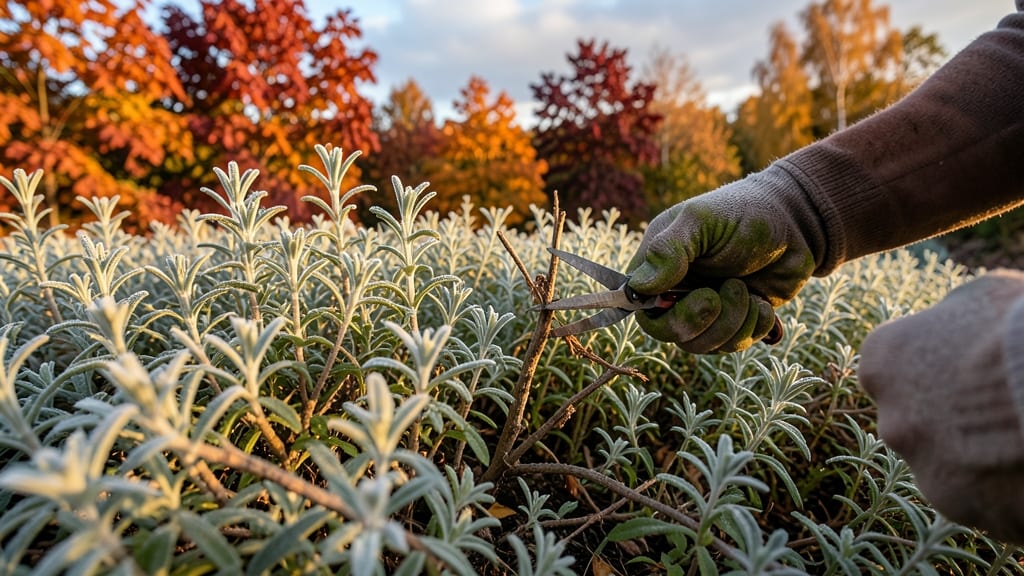
As autumn leaves paint your garden in warm hues, your perennial thyme needs a final health boost before winter. This is your chance to prevent winter dieback—a silent killer of woody stems—by giving your thyme a strategic haircut before dormancy sets in.
Start by removing up to one-third of the plant’s growth, focusing on dead or yellowing leaves and any leggy stems that have lost their vigor. Use clean, sharp pruners to cut just above a leaf node, and avoid shearing the entire plant flat. This light trimming encourages new growth in spring while reducing moisture loss and pest hiding spots. For container-grown thyme, also trim back any overcrowded edges to improve airflow.
This method is especially critical for perennial varieties like common thyme or creeping thyme, which rely on a strong root system to survive harsh winters. A well-timed fall cleanup ensures your thyme wakes up bushier and more resilient next spring. 🌿
Pinching New Growth Method
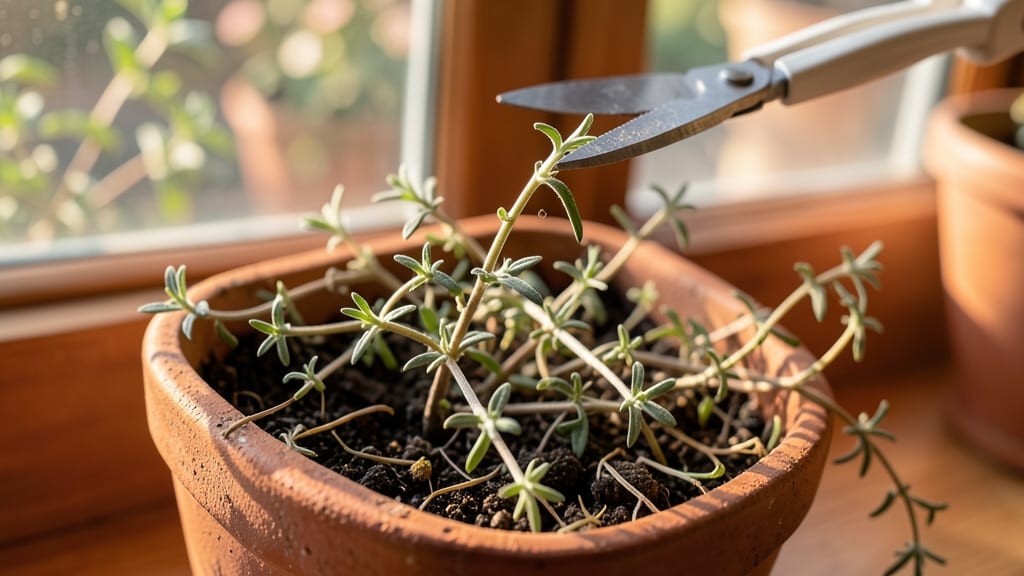
Struggling with leggy thyme plants that look sparse and unkempt? The pinching method is your secret weapon for creating fuller, bushier growth without harsh cuts. This gentle technique works by removing the tips of new stems to encourage branching, perfect for young plants or those needing a shape refresh.
To pinch, simply use your fingers or clean scissors to snip off the top ¼ to ½ inch of the youngest stems when they reach about 3-4 inches tall. Focus on the outermost growth to shape the plant naturally. Repeat every 4-6 weeks during the growing season (spring through early summer) for best results. This method stimulates dormant buds along the stem to produce new side shoots.
Perfect for beginners or urban gardeners with limited space, pinching transforms straggly thyme into dense, aromatic mounds. It’s also the ideal way to correct shape without the stress of heavy pruning. 🌱
Hard Pruning for Woody Stems
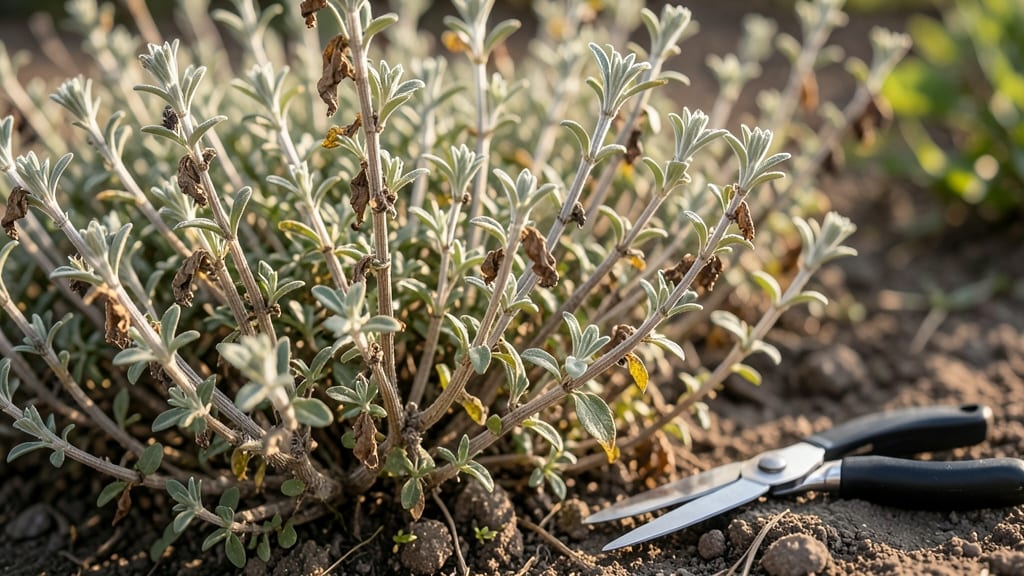
When your thyme looks more like a woody shrub than a lush herb, it’s time for a dramatic reset. This hard pruning technique cuts back the stems to 2-3 inches above ground, forcing the plant to regrow from its base—ideal for severely neglected plants that have lost their vibrant foliage.
Use clean, sharp pruners in early spring (before new growth begins) to avoid shocking the plant. Focus on cutting just above a leaf node or bud, and remove up to two-thirds of the plant’s height if needed. This aggressive approach works best for perennial varieties like common thyme or creeping thyme, which can bounce back stronger than ever.
Perfect for gardeners with overgrown thyme patches or those reviving neglected container plants, this method ensures a fresh start. Your plant will reward you with dense, flavorful growth in just a few weeks! ✨
Layering for Propagation Pruning
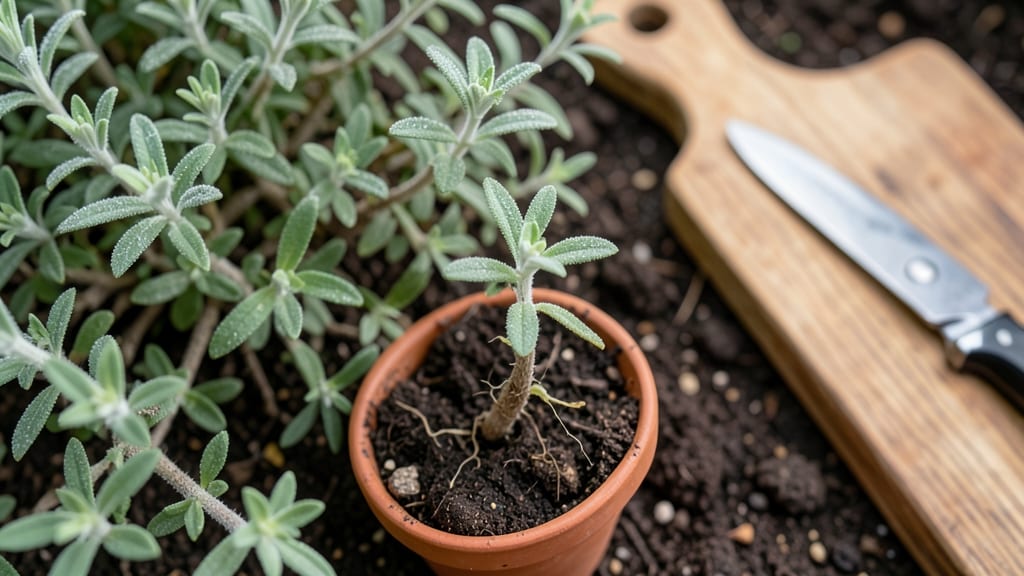
Want to multiply your thyme plants without spending a dime? Layering for propagation pruning turns your existing thyme into free, ready-to-plant cuttings while keeping your original plant healthy. This clever technique works by encouraging roots to form on lower stems while you prune back the top growth—ideal for gardeners who love thyme but hate buying new plants.
Start by selecting a healthy, flexible stem with at least two sets of leaves. Gently bend it downward and bury a 2-3 inch section in moist soil, securing it with a small rock or U-shaped wire. Keep the soil consistently moist but not soggy—roots typically form in 4-6 weeks. Once rooted, you can either cut the new plant from the mother or leave it connected for a few more weeks to ensure stability.
This method works best in spring or early summer when thyme is actively growing. Urban gardeners and small-space growers will love how this creates new plants without needing extra space—plus, you get to prune your existing thyme at the same time! 🌱
Deadheading for Continuous Bloom
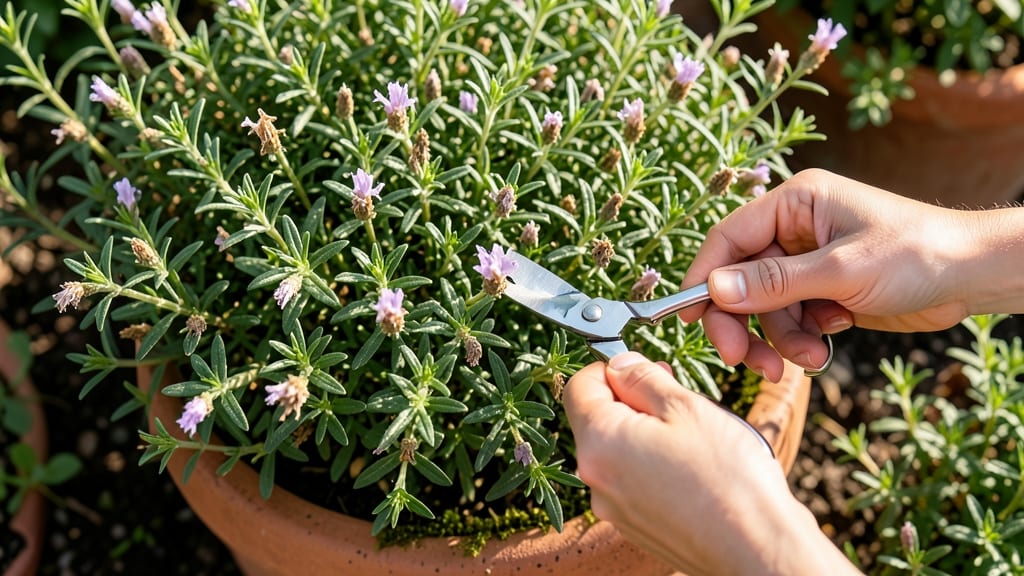
Want thyme bushes that stay lush and fragrant all season? Deadheading—removing spent flowers—is your secret weapon. This simple technique redirects the plant’s energy from seed production back into leaf growth, ensuring your thyme stays thick, green, and productive.
Use your fingers or clean scissors to snip off flower stalks just above the first set of leaves after blooms fade. Focus on regular thyme varieties like common or lemon thyme, which reward consistent deadheading with vigorous new foliage. Aim to do this every 2-4 weeks during peak bloom (late spring to early summer) for best results.
This method is especially valuable for gardeners who want year-round harvests of fresh thyme. Whether you’re growing it for cooking or pollinators, deadheading keeps your plants thriving. 🌿
Container Thyme Trimming Tips
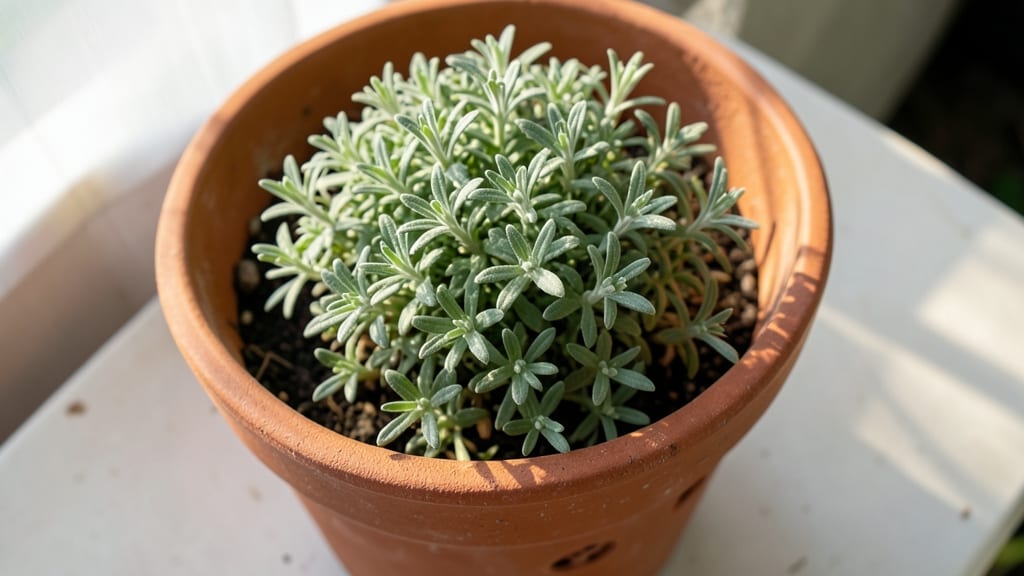
Potted thyme can quickly become root-bound if you skip regular trimming, but container-specific pruning keeps it compact and thriving. Unlike in-ground plants, container thyme needs edge trimming to prevent leggy growth and maintain its neat, rounded shape—perfect for small spaces and urban balconies.
Start by trimming 1-2 inches off the outer edges every 4-6 weeks to encourage bushiness. Use clean, sharp scissors to snip just above a leaf node, and avoid cutting into woody stems. For overcrowded pots, gently loosen roots and trim any circling roots to improve airflow and prevent stress.
This method works especially well for balcony gardeners or those with limited space, ensuring your thyme stays lush and productive without outgrowing its container. 🌿
Winter Protection Pruning
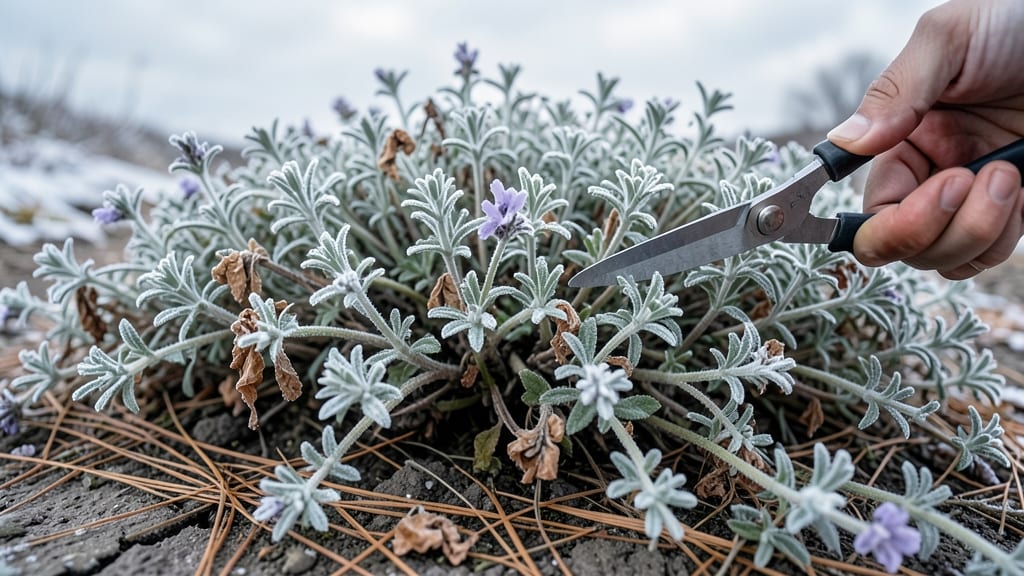
When winter’s chill threatens your cold-hardy thyme varieties, a gentle touch is all they need to survive—and even thrive. Unlike aggressive pruning, winter protection pruning focuses on removing only frost-damaged leaves while keeping the plant’s sturdy structure intact.
Start by inspecting your thyme in late winter or early spring, just as new growth begins. Use sharp pruners to trim back any brown, brittle leaves or stems—never cut into healthy green tissue. This light approach prevents disease and allows the plant to redirect energy into fresh foliage once warmer weather arrives. For container-grown thyme, add a layer of mulch around the base to insulate roots from temperature swings.
This method is perfect for gardeners in USDA Zones 5-8 who want to protect their thyme without sacrificing its hardy nature. By preserving the plant’s framework, you’re setting the stage for a robust spring rebirth. 💚
Tool-Specific Pruning Techniques

Not all pruning tools are created equal when it comes to thyme—using the right one makes all the difference in keeping your plants healthy and thriving. Sharp scissors are perfect for delicate varieties like lemon thyme, while bypass pruners handle thicker stems of common thyme without crushing them.
For hedge shears, reserve them for larger patches of thyme or when shaping dense mounds, as they provide cleaner cuts across multiple stems at once. Always ensure blades are sterilized and sharp to prevent disease and promote faster healing—dull tools tear stems, leaving them vulnerable to rot.
This tool-specific approach isn’t just for pros; even beginners benefit from matching the right tool to the job, ensuring your thyme stays bushy and productive for years. 🌿