
How To
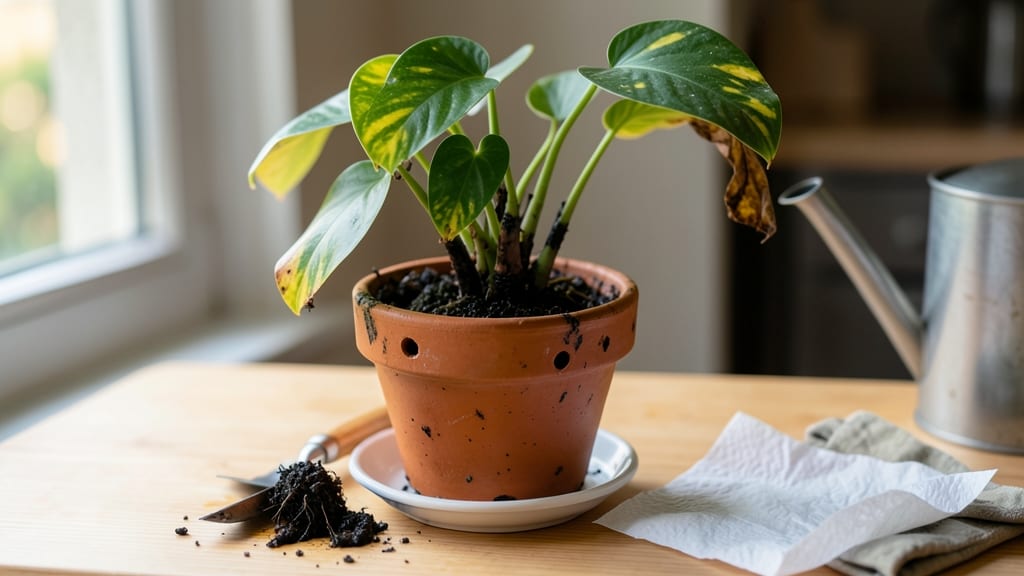
How to fix an overwatered ZZ plant—don’t panic, because even if it looks like it’s giving up, it’s tougher than it seems. 💚 The good news? With the right moves, you can nurse it back to health in just 3 days. Overwatering turns leaves yellow and stems mushy, but ZZ plants store water in their rhizomes—meaning they can bounce back if you act fast.
First, stop watering immediately and move the plant to a bright spot with indirect light. If the soil is soggy, gently remove the plant and trim any black, rotten roots with clean scissors. This might sound scary, but ZZ plants grow new roots fast—think of it as pruning for survival.
Repot the plant in fresh, well-draining soil and a container with drainage holes. Water lightly only when the top 2 inches of soil feel completely dry. Within a week, you’ll see new growth pushing through, and those glossy leaves will return—stronger than before.
Here’s the secret: ZZ plants thrive on neglect. Let the soil dry out completely between waterings, and you’ll never have to fix overwatering again. Trust the process—your plant’s resilience will surprise you.
📚 In This Guide
- What you need
- Instructions
- Tips and common mistakes
- Wrapping up and next steps
What you need
- ● Well-draining potting mix: 2–3 gallons (or enough to refill the pot). Look for a cactus/succulent mix or amend regular soil with perlite or pumice (20–30% by volume) to improve aeration.
- ● Clean, breathable pot: 1 pot slightly larger than the current one (or the same size if roots are severely damaged). Ensure it has drainage holes—no exceptions!
- ○ Gloves (optional but recommended): A pair of nitrile or gardening gloves to protect your hands from sticky soil and potential bacteria.
- ● Pruning shears or sharp scissors: Sterilized (wipe with rubbing alcohol) to trim dead or mushy leaves/roots.
- ● Spray bottle with water: For gentle misting (avoid soaking!).
- ● Paper towels or a clean cloth: To pat dry roots and wipe tools.
- ○ Fungicide (optional but helpful): A copper-based or hydrogen peroxide (3%) solution (1 part peroxide to 10 parts water) to prevent root rot.
- ● Rooting hormone: A powder or gel to encourage healthy regrowth on trimmed stems (if you’re propagating cuttings).
- ● Moisture meter: A small digital soil moisture sensor to monitor water levels post-repotting.
- ● Peat moss or coconut coir: For extra moisture retention in the bottom layer (if your mix is too dry).
- ● Newspaper or tray: To place under the pot and catch any excess water during the drainage process.
Step-by-Step instructions for reviving an overwatered ZZ plant
Here's my proven method to rescue your soggy ZZ plant and get it thriving again.
💧 Step 1: Remove the Plant and Assess Root Damage
Gently slide the ZZ plant out of its pot, being careful not to tear the roots further. You'll see the problem immediately—the roots should be firm and white, but overwatering turns them mushy and brown. Hold the plant over the sink and rinse off any remaining soil to get a clear view.
If the roots smell foul or feel slimy, that’s a sign of root rot. Healthy roots might still have some brown tips, but if most are brown and squishy, you’ll need to trim them aggressively. This isn’t as scary as it sounds—ZZ plants are tough, and they’ll bounce back.
✂️ Step 2: Trim Damaged Roots and Leaves
Using clean, sharp scissors or pruning shears, cut away all the mushy, brown roots. You want to remove anything that crumbles when touched—healthy roots will snap back slightly when bent. Trim back to the firm, white sections only. This might sound drastic, but it’s the only way to stop the rot from spreading.
Next, check the leaves. If they’re yellow or mushy, they’re past saving. Snip them off at the base. Don’t worry about losing a few leaves—ZZ plants grow new ones quickly once the roots are healthy again. Focus on keeping the plant’s energy where it counts: in the roots.
🪴 Step 3: Repot in Fresh, Well-Draining Soil
Pick a pot with drainage holes—if the original pot didn’t have them, upgrade to one that does. Fill the bottom with a layer of fresh, well-draining potting mix (ZZ plants hate soggy soil). I like to mix in a little perlite or pumice to improve drainage even more.
Place the trimmed plant in the pot and fill around the roots with more of the fresh mix, pressing gently to secure it. Leave about an inch of space between the soil and the pot’s rim—this prevents water from pooling at the top. Water lightly just enough to settle the soil, but don’t drown it.
☀️ Step 4: Adjust Watering and Light for Recovery
For the next 3 days, let the plant recover in bright, indirect light. Avoid direct sunlight, which can stress the plant further while it’s healing. If your home runs cool, a warm spot near a window is ideal—ZZ plants thrive in 65-75°F temperatures.
Wait until the top 2 inches of soil feel completely dry before watering again. Stick your finger in the soil—if it’s damp past your first knuckle, wait another day. Overwatering is the enemy right now, so err on the side of underwatering. You’ll see new growth in 2-4 weeks if the roots are healing properly.
⏰ Step 5: Monitor and Prevent Future Issues
After a week, check the roots again by gently lifting the plant. If they’re firm and white, you’re on the right track. If they’re still mushy, repeat the trimming process and give it another week of dry soil. ZZ plants are resilient, but they need time to recover.
To keep this from happening again, water only when the soil is bone-dry. I use the finger test—if the top 2 inches are dry, it’s time to water. And always use a pot with drainage holes. A little neglect is better than soggy soil for these tough plants.
Tips & tricks for reviving an overwatered ZZ plant
Here's what nobody tells you—these small details make all the difference when rescuing your ZZ plant.
The Root Inspection: In Step 1, when you're assessing damage, look for a clear transition point between healthy and rotten roots—this is where you should trim. Use a clean knife or shears to make precise cuts rather than tearing, which can cause further trauma. The roots should look like firm white strings, not slimy brown mush. If you're unsure, cut back a little further—better to remove too much than too little.
Trimming Technique: During Step 2, focus on removing only the mushy parts—healthy roots will snap back slightly when bent, while rotten ones will crumble. Don't be afraid to be aggressive with the trimming; ZZ plants are incredibly resilient and will grow new roots quickly. After trimming, give your plant a quick rinse under lukewarm water to remove any remaining soil, making it easier to see where the healthy roots begin.
Soil Mix Strategy: In Step 3, when repotting, consider adding a handful of perlite or coarse sand to your potting mix for extra drainage. I've found that a 60/40 mix of regular potting soil to perlite works perfectly for ZZ plants. This prevents water from pooling around the roots and gives them room to breathe. Press the soil gently around the roots to eliminate air pockets, but don't compact it too tightly.
Recovery Environment: For the critical 3-day recovery period in Step 4, position your plant near an east-facing window where it gets bright but indirect light. If you don't have that option, a south-facing window with sheer curtains works well. Avoid west-facing windows where the afternoon sun can be too intense. The ideal temperature range of 65-75°F is crucial—ZZ plants struggle in cooler conditions, so move it away from drafty areas or air conditioning vents.
Pro Tips for Fix Overwatered Zz Plant
- Here's what nobody tells you—these small details make all the difference when rescuing your ZZ plant.
- The Root Inspection: In Step 1, when you're assessing damage, look for a clear transition point between healthy and r...
- Trimming Technique: During Step 2, focus on removing only the mushy parts—healthy roots will snap back slightly when ...
Frequently asked questions
about fixing an overwatered ZZ plant—because even the toughest plants need a little TLC!How often should I water my ZZ plant after fixing overwatering?
Once recovered, water your ZZ plant only when the top 2-3 inches of soil are completely dry—usually every 3-4 weeks. Stick your finger in the soil to check! Overwatering is the #1 killer, so less is always better for this drought-resistant beauty.
Will my ZZ plant survive if the leaves turn mushy and black?
Yes, but you’ll need to act fast! Trim off the mushy leaves immediately with clean scissors, then focus on drying out the roots. If the roots are still firm (not brown/slimy), your plant can bounce back in 1-2 weeks with proper care.
Can I use hydrogen peroxide to save my overwatered ZZ plant?
Mix 1 part 3% hydrogen peroxide with 4 parts water and water your plant to prevent root rot and promote healing. Reapply every 2-3 days until the soil is dry. It’s a natural fungicide and speeds up recovery!
How do I know if I’ve trimmed enough dead leaves and roots?
Cut back any leaf that’s soft, discolored, or falling off—healthy leaves stay firm, glossy, and green. For roots, remove all mushy, black, or smelly sections down to the healthy white/firm parts. Think of it like a root haircut—better to be thorough than sorry!
Should I move my ZZ plant to a different pot after overwatering?
Only if the roots are severely rotted (more than 50% affected). Repot into a clean, well-draining pot with fresh soil and hold off on watering for 5-7 days. If roots look mostly healthy, stick with the same pot but improve drainage with perlite or orchid bark.
How long does it take for a ZZ plant to recover from overwatering?
With proper care, you’ll see new growth in 2-4 weeks! Monitor for crispy edges (underwatering) or yellowing (overwatering again). Patience is key—ZZ plants are resilient but need time to bounce back like a champ.
Wrapping up and next steps
Reviving an overwatered ZZ plant isn’t as daunting as it seems—with the right steps, your resilient green friend can bounce back stronger than ever! 🌱 Remember, drain excess water, trim damaged roots, and adjust your care routine to prevent future soggy soil.
The key is patience and consistency, so don’t rush the process.
Now that you’re armed with the know-how, check your ZZ plant’s progress in 3-5 days and celebrate every small improvement. If all goes well, you’ll soon be back to admiring its lush, thriving leaves—and maybe even bragging about your plant-saving skills! Happy gardening! 🌟