
Picking
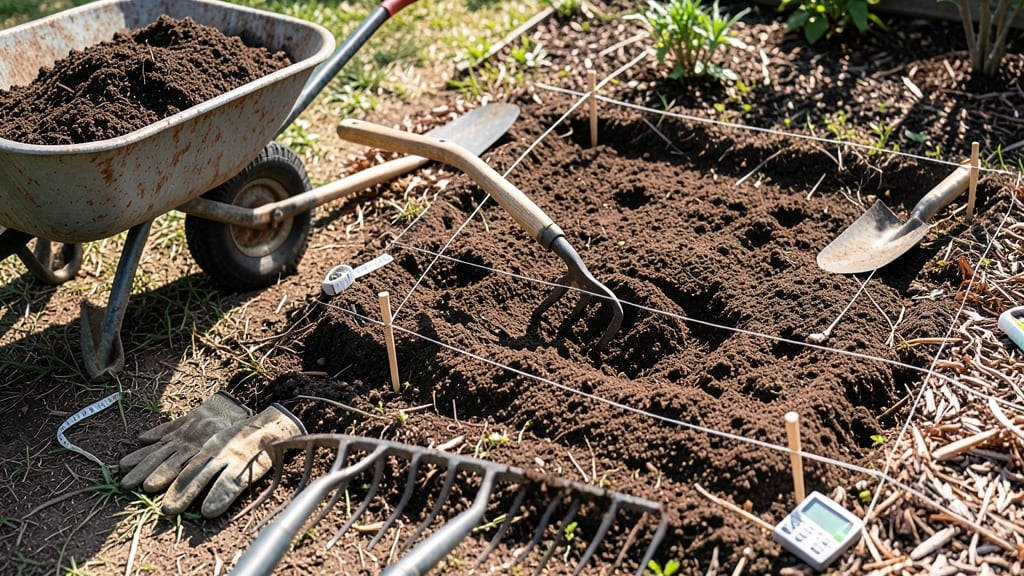
Getting ground ready for garden transforms hardpan into a dream for seeds. ✨ I’ve turned stubborn clay into lush beds in just two days—no fancy tools, just elbow grease and the right moves. The secret?
Start by clearing every scrap of debris, then work organic matter deep while the soil’s still damp (but not soggy).
You’ll need a sturdy fork or broadfork, a wheelbarrow for amendments, and a soil test kit if you’re unsure about pH. Most gardeners skip testing, but a simple at-home kit reveals if your soil’s too acidic for veggies or too alkaline for blueberries.
My first test showed my yard needed lime, and now my tomatoes thrive where they once struggled. By the end of the weekend, you’ll have loose, crumbly soil that holds moisture like a sponge.
The key is timing—work when the ground’s workable but not muddy, usually a week after your last frost. Even in heavy clay, this method breaks up compaction without tilling, preserving earthworms and microbial life. Works for raised beds, in-ground plots, or even container prep. The payoff?
Plants root deeper, weeds struggle to take hold, and your harvest starts earlier. Let’s get that ground ready!
📚 In This Guide
- What you need
- Instructions
- Tips and common mistakes
- Wrapping up and next steps
What you need
- ● Garden gloves (1 pair) – Heavy-duty, waterproof gloves to protect your hands from thorns, dirt, and sharp objects.
- ● Shovel or spade (1) – A sturdy, sharp-edged shovel (16–18 inches long) for digging and turning soil.
- ● Garden fork (1) – Essential for breaking up compacted soil and aerating the bed.
- ● Rake (1 leaf rake + 1 bow rake) – A leaf rake for clearing debris and a bow rake for leveling and smoothing soil.
- ● Pruners or loppers (1 pair) – For trimming weeds, small plants, or branches in your garden area.
- ● Wheelbarrow or large bucket (1) – To haul away weeds, rocks, and debris (1–2 cubic feet capacity).
- ● Compost or aged manure (2–4 cubic feet) – Organic matter to enrich soil (choose based on your bed size).
- ● Garden soil or topsoil (1–2 cubic yards) – High-quality soil to amend and refresh the bed.
- ○ Mulch (optional but recommended) (1–2 bags) – Straw, wood chips, or shredded leaves to retain moisture and suppress weeds.
- ● Soil test kit – To check pH and nutrient levels before amending (available at garden centers).
- ● Kneeling pad or small stool – For comfort during long prep sessions.
- ● Hose with nozzle or watering can – To wet the soil before digging (makes it easier to work with).
- ● Garden twine and stakes – For marking off your garden bed if you’re new to layout planning.
- ● Weed barrier fabric – If you’re dealing with persistent weeds or invasive grasses.
Tips & tricks for perfect garden soil prep
Transforming tough ground into planting-ready beds takes more than just elbow grease—it's about working with your soil's natural quirks. Here's what I've learned after turning my own stubborn clay into thriving garden plots.
Tool Selection Matters: That 6-inch border you cut in Step 1? Use a spade with a sharp edge—not a flat shovel. A dull tool will tear the soil instead of cleanly cutting it. For tough clay, I rent a broadfork first to break up compaction before tilling. The key is working the tool in vertical slices (like a cake cut), not horizontal layers. This preserves soil structure while improving drainage—trust me, your plants will grow deeper roots.
Timing is Everything: The 1-2 week mulch cover in Step 5 isn't just about weeds—it's a heat treatment. Black plastic works best in sunny climates, but straw is gentler for cooler areas. Remove it just before planting so the warmed soil stays active. Pro move: Water the bed thoroughly right after removing mulch to help the soil settle and prevent crusting when you plant.
Soil Test Shortcut: That squeeze test in Step 4? Take it further by rubbing a pinch between your fingers. Clay feels slick and sticks; sandy soil crumbles instantly. The perfect mix should feel like damp potting soil—holds shape when squeezed but breaks apart easily. If you're unsure, grab a handful of your local garden center's potting mix for comparison. Your amended soil should match that texture.
Pro Tips for Get Ground Ready For Garden
- Transforming tough ground into planting-ready beds takes more than just elbow grease—it's about working with your soi...
- Tool Selection Matters: That 6-inch border you cut in Step 1? Use a spade with a sharp edge—not a flat shovel. A dull...
- Timing is Everything: The 1-2 week mulch cover in Step 5 isn't just about weeds—it's a heat treatment. Black plastic ...
Frequently asked questions
Got questions about prepping your garden soil? You’re not alone! Here are some of the most common concerns—and their straightforward solutions—to help you get started with confidence.
How do I know if my soil is ready for gardening?
Test it! Press a handful of damp soil—if it crumbles easily, it’s ready. If it sticks together like clay or feels powdery, amend it with compost or organic matter. A quick squeeze-and-release test works too: if it holds shape but breaks apart, you’re golden.
Can I prepare my garden soil in one weekend?
Focus on clearing debris, loosening the top 6–12 inches, and adding compost. For tough clay or compacted soil, rent a rototiller or use a broadfork to break it up. Just avoid working wet soil—it compacts easily!
What’s a budget-friendly alternative to expensive soil amendments?
Try homemade compost (yard waste + kitchen scraps), leaf mold (shredded leaves in a bin for a year), or manure (aged cow, horse, or chicken manure). Even grass clippings (dried and mixed with nitrogen) work in a pinch!
How do I deal with weeds or pests before planting?
Pull weeds by hand (or use a hoe for stubborn ones) and remove roots to prevent regrowth. For pests, mulch heavily with straw or wood chips to deter insects. If slugs are an issue, set out beer traps or use organic slug bait like iron phosphate.
What’s the best time of year to prep garden soil?
Ideally, early spring or fall—when soil is workable but not frozen or waterlogged. In warmer climates, late winter (before the heat) is perfect. Avoid prepping during heavy rain or extreme heat, which can dry out amendments too quickly.
Do I need to till my soil, or can I just loosen it?
Tilling isn’t always necessary! For no-till gardens, use a broadfork or hand tools to loosen soil without flipping it. This preserves soil structure, reduces erosion, and encourages beneficial microbes. Tilling is better for heavily compacted or weedy areas.
Wrapping up and next steps
Preparing your garden bed doesn’t have to be a daunting task—with the right tools, patience, and a little elbow grease, you can transform even the toughest ground into a loose, nutrient-rich paradise in just a weekend! 🌱 Whether you’re clearing weeds, amending soil, or leveling the terrain, each step brings you closer to a thriving garden.
Now that your ground is ready, the real magic begins: planting your dreams!
So, grab your gloves, gather your seeds, and let’s get growing! Next up: Choose your plants, mark your rows, and watch your hard work bloom into a lush, productive garden. You’ve got this! 🌿✨