
How To
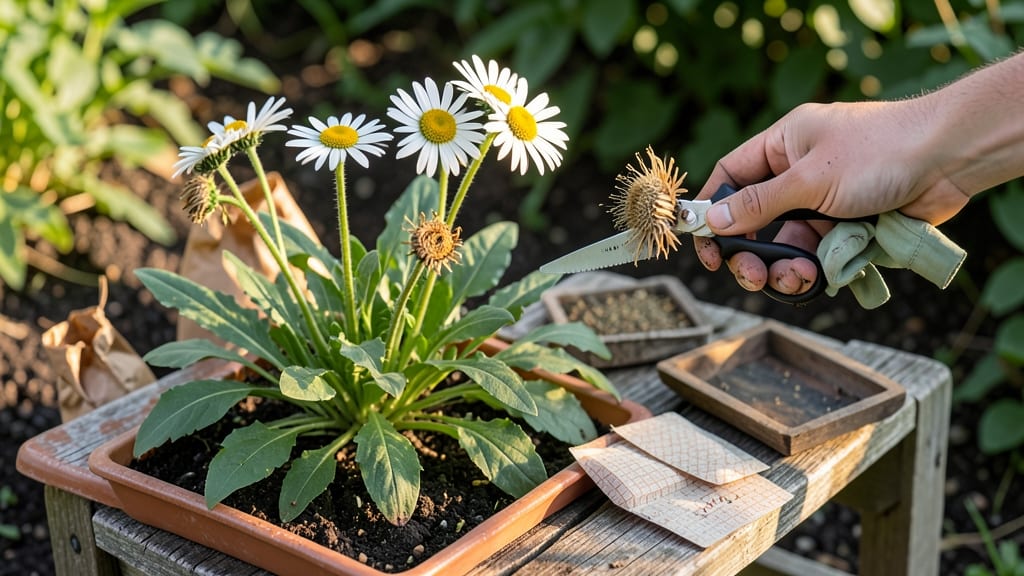
Harvesting Shasta Daisy seeds 🌼 is like catching a fleeting moment—wait too long, and those fluffy seed pods scatter across your yard, leaving you with nothing but wishful thinking.
But get it right, and you’ll unlock a treasure trove of free plants for next year’s garden, saving money and ensuring your favorite blooms return in full force.
The key to success lies in timing: you’ll want to act when those once-vibrant flower heads turn completely brown and dry, usually late summer to early fall.
That’s when the seeds inside are fully mature and ready for collection, but before they’ve had a chance to spread on their own. Miss this window, and you might end up with seeds that won’t sprout—or worse, a yard full of unexpected daisies where you didn’t plant them.
I’ve learned the hard way that rushing the process leads to damp, unusable seeds, while waiting too long means losing them entirely. In this guide, I’ll walk you through the exact steps to harvest, dry, and store your seeds so they stay viable for years.
Whether you’re a seasoned gardener or just starting out, these tips will help you turn those fluffy seed heads into a reliable source of new plants.
Ready to turn your Shasta Daisy harvest into a garden game-changer? Let’s dive into the simple, foolproof methods that’ll have you collecting seeds like a pro—no guesswork required.


When to harvest Shasta daisy seed pods for maximum viability
Timing is everything when harvesting Shasta daisy seeds. The ideal window is late summer to early fall, typically August through September, when the flower heads have fully matured. Look for brown, dry seed pods that easily release seeds when gently squeezed—a sure sign of readiness.
Miss this window, and you risk low germination rates or seeds scattering unpredictably. Early harvests yield immature seeds that won’t sprout, while waiting too long lets nature handle the job, often leaving seeds lost to birds or wind.
Pay close attention to color changes and texture shifts in the seed heads.
Here’s what to watch for: petals falling away reveals the seed head center, which should turn from green to deep brown. The pods also become papery and dry, almost brittle to the touch.
If you shake a mature pod, seeds should rattle inside—this is your cue to act.
Environmental factors also play a role. Dry, warm weather speeds up maturation, while humid conditions can delay drying or cause mold. Harvest on a clear, sunny day to ensure seeds are fully dry and ready for storage.
One common misconception is that white petals indicate readiness, but these fade long before seeds mature. Focus instead on the center disk (the brown, fluffy part) turning completely brown and dry. This is your primary harvest signal.
Pro tip: Mark your calendar for 60-90 days after flowering, as this is when most Shasta daisy varieties reach peak seed maturity. Early bloomers may need harvesting by mid-August, while late varieties can wait until October.
🌼
| Stage | Visual Cues | Action |
|---|---|---|
| Early Bloom | White petals fully open | Monitor for petal drop |
| Petal Drop | Petals fall away, center turns yellow | Wait 4-6 weeks |
| Seed Maturity | Center brown, dry, and papery | Harvest immediately |
| Overripe | Pods split open, seeds scatter | Too late—collect fallen seeds if needed |
If you’re unsure whether your Shasta daisy seeds are ready, perform the shake test: Hold a seed head over a brown paper bag and give it a gentle shake. If seeds rain down easily, they’re harvest-ready. If not, wait another 3-5 days and test again.
Harvesting at the right time ensures high germination rates (up to 90% for fresh seeds) and prevents unwanted self-seeding in your garden. Mark your calendar now—late August is prime time for most USDA Zone 6a gardeners like me!
🌾
When to harvest Shasta daisy seed pods for maximum viability
Timing is everything when harvesting Shasta daisy seeds. The perfect window comes late summer to early fall—typically August through September—when the flower heads have fully matured. Look for brown, dry seed pods that rattle when gently shaken, signaling seeds are ready for collection.
Miss this window, and you risk two problems: immature seeds that won’t germinate or scattered seeds that self-sow unpredictably. I’ve learned the hard way—waiting too long means waking up to daisies popping up everywhere! The key is acting before the seed pods split open and release their contents naturally.
Watch for these visual cues to confirm readiness: petals have fallen, the center turns brown and papery, and the entire head feels dry and crispy to the touch. If you press a seed pod and it crumbles easily, it’s harvest-ready.