
Fertilization
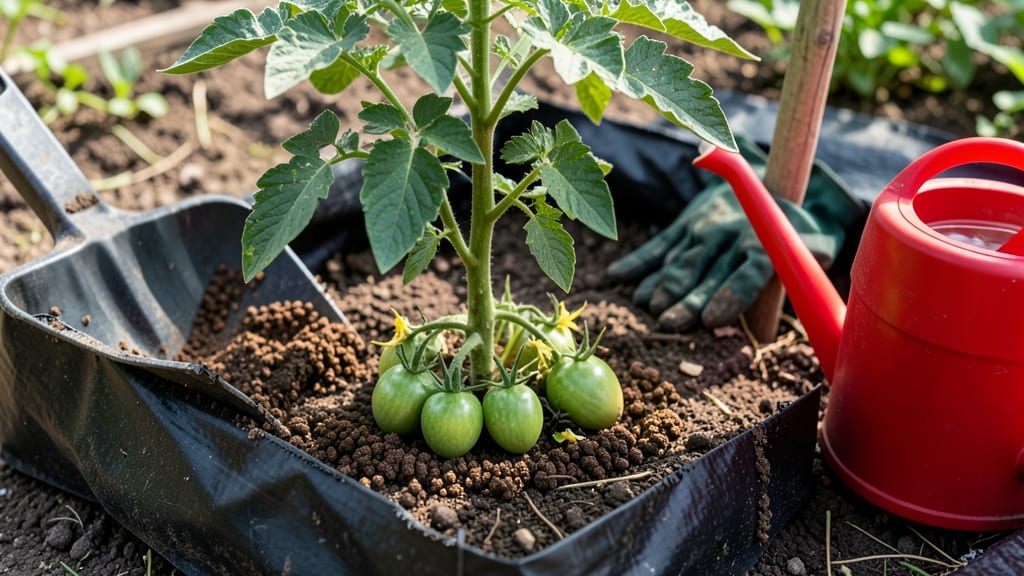
How to apply fertiliser wrong wastes money and stunts your plants. 🌱 I’ve seen gardeners flush nutrients down the drain—or worse, burn their plants—by timing it poorly. The secret isn’t just what you use, but when and how you feed your soil for real results.
Start with the right type for your plants: granular for slow release, liquid for quick uptake, or organic for long-term soil health. The key is matching fertilizer to the growth stage—pre-planting for root boosts, mid-season for blooms, and a light touch in late summer to avoid fall flushes.
Even organic options need precision timing.
You’ll notice stronger stems, deeper greens, and bigger yields when roots absorb nutrients efficiently. The trick is watering before and after application to activate granules and prevent leaf burn. Over-fertilizing? Yellow leaves and stunted growth will tell you everything you need to know.
Works for vegetables, flowers, and lawns alike—just adjust ratios based on plant needs. Here’s how to do it without the guesswork, so your garden thrives instead of just surviving.
📚 In This Guide
- What you need
- Instructions
- Tips and common mistakes
- Wrapping up and next steps
What you need
- ● Fertiliser: Granular (e.g., 10-10-10 NPK ratio) – 1-2 lbs per 100 sq ft
- ● Liquid (e.g., fish emulsion or compost tea) – 1-2 tbsp per gallon of water
- ● Slow-release (e.g., Osmocote) – Follow label instructions
- ● Watering Can or Hose: With a fine-mist nozzle for even distribution.
- ● Garden Gloves: To protect your hands from chemicals and soil.
- ● Measuring Scoop or Scale: For precise fertiliser application (e.g., 1/4-cup scoop).
- ○ Spreaders (Optional): Broadcast spreader (for granular fertiliser)
- ● Drop spreader (for targeted application)
- ● Soil Test Kit: Check soil pH and nutrient levels (ideal pH: 6.0–7.0 for most plants).
- ● Well-Draining Soil: Amend with compost if soil is heavy or compacted.
- ● Weather Check: Apply fertiliser on a cloudy day or early morning to avoid burn.
- ● Plant-Specific Needs: Research your plants’ nutrient requirements (e.g., nitrogen-heavy for leafy greens).
Step-by-Step instructions for applying fertiliser effectively
Mastering fertiliser application transforms your garden from good to exceptional—here’s how to do it right.
🌱 Step 1: Prepare Soil and Test Current Nutrient Levels
Before adding any fertiliser, test your soil’s pH and nutrient levels using a home test kit. Most plants thrive in a pH range of 6.0-7.0, but acid-loving plants like blueberries need 4.5-5.5. If your soil is compacted or depleted, work in 2-3 inches of compost first—this improves structure and provides slow-release nutrients.
I always dig a small hole near the plant’s drip line, fill it with water, and wait 15-20 minutes to see how quickly it drains. Slow drainage means your soil needs sand or perlite to improve aeration before fertilising. Never apply fertiliser to waterlogged soil—roots can’t absorb nutrients efficiently when oxygen is limited.
💧 Step 2: Choose the Right Fertiliser Type and Timing
Select a fertiliser based on your plants’ needs: granular for slow-release feeding, liquid for quick uptake, or organic like compost tea for microbial boosts. For vegetables and flowers, I use a balanced 10-10-10 formula in early spring, switching to a high-phosphorus 5-10-5 when blooming begins. Always check the label for application rates—overfeeding burns roots just as surely as underfeeding.
Timing matters just as much as type. Apply granular fertiliser in early spring when new growth starts, and liquid fertiliser every 4-6 weeks during the growing season. Avoid fertilising in extreme heat (above 85°F) or dormant seasons—plants waste energy trying to process nutrients they can’t use.
☀️ Step 3: Apply Fertiliser Using the Right Technique
For granular fertiliser, scatter evenly around the plant’s drip line (the edge of the plant’s canopy) using a spreaders for precision. Work the granules 1-2 inches into the soil with a rake or hoe—this prevents them from washing away during watering. I like to create small trenches around the base of the plant, place the fertiliser, then cover it with soil to protect roots from direct contact.
When using liquid fertiliser, dilute it to the recommended strength and apply it slowly to the soil (not leaves) using a watering can or hose-end sprayer. Water the soil thoroughly before and after to help roots absorb nutrients. Watch for yellowing leaves—this often signals over-fertilisation, especially if the leaf edges turn brown. If this happens, flush the soil with plain water to dilute excess salts.
✂️ Step 4: Monitor Plant Response and Adjust
After fertilising, observe your plants for 2-4 weeks to gauge their response. Healthy growth means dark green leaves, strong stems, and vigorous new shoots. If leaves develop purple or yellow streaks, your plant may need more phosphorus or potassium. Conversely, dark green leaves with slow growth suggest a nitrogen deficiency—time for a high-nitrogen feed.
I keep a simple journal noting fertiliser types, application dates, and plant reactions. This helps me spot patterns—like when my tomatoes needed extra potassium after the first flush of blooms. Adjust your fertiliser routine based on what you see, and always reduce rates by half if you notice any stress symptoms. The goal is steady, balanced growth, not rapid but unsustainable spikes.
⏰ Step 5: Plan for Seasonal Fertiliser Needs
Fertiliser needs change with the seasons. In spring, focus on root and foliar growth with a high-nitrogen feed. By late summer, shift to phosphorus-heavy fertilisers to encourage blooming and fruiting. In fall, reduce fertiliser use entirely—plants need to harden off and store nutrients for winter. I always stop fertilising 6-8 weeks before the first frost to let roots mature and prepare for dormancy.
For container plants, fertilise every 2-3 weeks during the growing season because nutrients leach out quickly. Use a water-soluble fertiliser for convenience, but always rinse the pot monthly to prevent salt buildup. Mulch with 2-3 inches of organic matter (like shredded leaves or straw) to retain moisture and slowly release nutrients—this cuts fertiliser needs by 30-50%.
Tips & tricks for perfect fertiliser application
Precision timing and technique make all the difference when feeding your plants. Here's how to avoid common mistakes and get the most from your fertiliser.
Soil Test Timing: The 15-20 minute water test in Step 1 reveals critical drainage information. If water pools after 15 minutes, your soil needs sand or perlite mixed in before fertilising—this prevents nutrient runoff and root suffocation. I've seen plants struggle after fertilising compacted soil, only to thrive once aeration improved. This simple test saves wasted fertiliser and stressed plants.
Seasonal Fertiliser Strategy: The instructions mention switching to phosphorus-heavy fertilisers in late summer, but here's the key: most gardeners miss the transition from nitrogen to phosphorus. I mark my calendar for mid-July to make this switch—right when my tomatoes start flowering. This timing ensures blooms convert to fruit rather than just leafy growth. For container plants, I begin this shift 2 weeks earlier since they respond faster.
Granular Application Technique: When working those granules 1-2 inches into soil in Step 3, think "root zone protection." I create small trenches around the base rather than scattering randomly—this prevents direct root contact with concentrated fertiliser. For delicate plants like blueberries, I halve the recommended dose and use organic granules to avoid salt burn. The trench method also helps with slow-release timing, matching nutrient availability to root demand.
Liquid Fertiliser Safety Net: The instructions warn about yellowing leaves from over-fertilisation, but here's what I do when it happens: immediately flush the soil with plain water for 10 minutes using a gentle hose setting. I've found this dilutes excess salts better than waiting for rain. For container plants, I remove them from saucers during flushing to prevent nutrient buildup in drainage water. This rescue strategy works within 24 hours of noticing symptoms.
Pro Tips for Apply Fertiliser
- Precision timing and technique make all the difference when feeding your plants. Here's how to avoid common mistakes ...
- Soil Test Timing: The 15-20 minute water test in Step 1 reveals critical drainage information. If water pools after 1...
- Seasonal Fertiliser Strategy: The instructions mention switching to phosphorus-heavy fertilisers in late summer, but ...
Frequently asked questions
Got questions about fertiliser application? You’re not alone! Here are answers to the most common concerns—so you can fertilise with confidence and precision.
When is the best time of day to apply fertiliser?
Apply fertiliser in the early morning (before 9 AM) or late afternoon (after 4 PM) to avoid burning plants in direct sunlight. This timing also allows roots to absorb nutrients before the heat of the day. Water thoroughly after application to help nutrients penetrate the soil.
Do I need to water before or after applying fertiliser?
Always water the soil first to moisten it, then apply fertiliser, and water again afterward. This ensures nutrients dissolve and reach roots efficiently. Overwatering right after can wash away fertiliser, while dry soil may cause salt buildup and plant stress. Aim for 1 inch of water per application.
How often should I fertilise my plants?
Frequency depends on the plant type and fertiliser type:
- Slow-release granules: Apply every 3–6 months (follow package instructions).
- Liquid fertiliser: Use every 2–4 weeks during growing seasons (spring–fall).
- Organic compost: Mix into soil 2–3 times per year or as a top-dressing.
Over-fertilising harms plants—less is often more!
What should I do if I accidentally over-fertilise?
Don’t panic! If you see yellowing leaves, wilting, or white crust on soil, flush the soil with water to leach excess salts. For severe cases, amend the soil with compost or peat moss to improve drainage. Avoid fertilising for 4–6 weeks to let plants recover.
Can I use coffee grounds or eggshells as fertiliser alternatives?
Yes! These are great organic amendments but work differently than synthetic fertiliser:
- Coffee grounds: Add nitrogen—ideal for acid-loving plants (e.g., blueberries). Mix into soil sparingly (too much can compact soil).
- Eggshells: Crush and compost them for calcium. They won’t replace balanced fertiliser but help with soil structure and pH over time.
For nutrient-dense results, pair them with a complete fertiliser.
Wrapping up and next steps
Applying fertilizer correctly is your secret weapon for a thriving garden—timing, technique, and consistency matter most! 🌱 By choosing the right type, following precise application methods, and monitoring soil health, you’ll maximize root uptake and give your plants the nutrients they crave. Don’t stop here! Test your soil every season, keep a fertilization journal, and experiment with organic blends to fine-tune your approach.
Your green thumb is stronger than you think—now go nurture those roots with confidence! 💪