
Vegetables
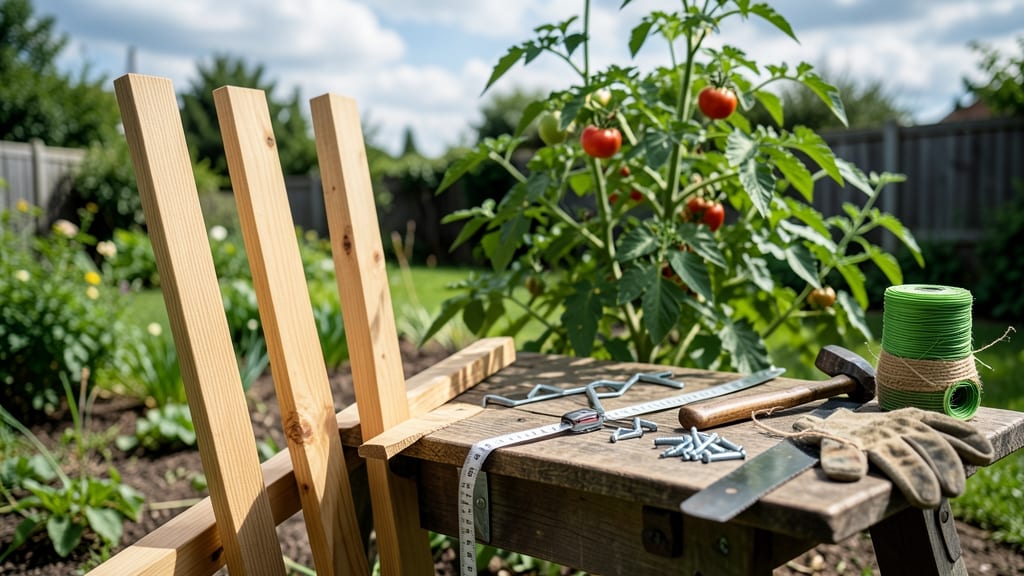
Building a sturdy wooden tomato cage saves you money and gives your plants the support they need to thrive. 🌱 I've learned that flimsy cages just can't handle the weight of heavy tomato vines, so I designed this simple, strong version that lasts for years—no wobbly joints or snapped wood.
You'll need untreated cedar or pine lumber (to avoid toxic chemicals), galvanized screws, and basic tools like a saw and drill. The key is using 2x2s for the frame and 1x2 slats for the lattice—this combo holds up to 20-pound tomatoes without bending.
Plus, the open design lets air circulate, preventing diseases that plague crowded cages. Once built, your tomatoes will climb higher, produce more fruit, and stay healthier than ever. The cage's sturdy structure also makes harvesting easier—no more struggling with tangled vines or broken branches.
You'll see the difference in just a few weeks, with plants reaching 6+ feet tall. This project pairs perfectly with trellises for indeterminate varieties or can be modified for peppers and cucumbers. Let's get building—your garden will thank you!
📚 In This Guide
- What you need
- Instructions
- Tips and common mistakes
- Wrapping up and next steps
What you need
- ● 2x4 lumber – 8 pieces, each 8 feet long (for a 4-foot-tall cage). Cut into: 4 vertical posts: 4 feet tall (cut from 8-foot boards)
- ● 4 horizontal supports: 3 feet long (cut from remaining lumber)
- ● 1x2 lumber – 10-12 pieces, 3 feet long (for cross-bracing and slats)
- ● Galvanized screws – 2-inch and 2.5-inch, about 50 screws total (stainless or deck screws work too!)
- ○ Wood glue – optional but recommended for extra reinforcement
- ○ Wood stain or paint – optional, weather-resistant (choose a non-toxic formula for edible gardens!)
- ● Circular saw or miter saw – for precise cuts
- ● Drill/driver – with phillips or hex bits
- ● Measuring tape – at least 6 feet long
- ● Pencil – for marking cuts
- ○ Speed square – for 90-degree angles (optional but helpful!)
- ● Safety gear – gloves, goggles, and ear protection
- ○ Clamps – optional, to hold pieces steady while assembling
- ● Clear workspace – at least 4 feet x 4 feet for assembly
- ● Outdoor location – level ground (or a raised bed) for placement
- ● Basic woodworking skills – or patience to follow step-by-step instructions!
- ● Weather check – build on a dry, calm day to avoid warping
Step-by-step instructions for building a sturdy wooden tomato cage
Here's how I build cages that last years and support heavy tomato vines without bending.
🪴 Step 1: Gather Materials and Measure Your Space
For a 4-foot tall cage that supports 4 plants, you'll need 4 untreated cedar or pine 1x1 stakes (cut to 4 feet long each), 4 horizontal support slats (cut to 3 feet long), and heavy-duty zip ties or corner brackets. Cedar resists rot best, but pine works fine if painted. Measure your planting area first—cages should stand 12-18 inches apart to allow vine spread without overcrowding.
I mark each stake at 12-inch intervals with a pencil before cutting. This ensures even spacing for the horizontal supports later. If you're building multiple cages, cut all stakes and slats at once to maintain uniformity. Pro tip: Use pre-cut 4x4 posts if you want extra durability—they won't bend under heavy fruit loads.
✂️ Step 2: Assemble the Vertical Frame
Drive or screw the 4 stakes into the ground at each corner of your planting square, spacing them 18 inches apart. For temporary setups, I use T-posts hammered 6 inches deep—they stay put through summer storms. If using permanent stakes, bury them 12 inches deep for maximum stability. Connect the top of each stake with the first horizontal slat using 3 zip ties per corner (one at the top, one at a 45-degree angle for reinforcement).
Here's where most cages fail: uneven tension. Pull each corner stake outward slightly before securing to create a slight outward angle—this prevents the frame from collapsing under vine weight. Double-check diagonals with a tape measure; they should be equal. If your stakes lean inward, loosen the ties and adjust before moving on.
🌿 Step 3: Add Horizontal Supports at Key Intervals
Install the remaining 3 slats at 12-inch vertical intervals (so you have supports at 12", 24", and 36" heights). Use two zip ties per slat per stake—one at the top of the slat, one at the bottom. For extra strength, I add diagonal braces (cut from scrap wood) between opposite corners at the 24-inch mark. These prevent the cage from "hourglassing" under heavy tomato clusters.
Test stability by pushing down on each corner. The frame should hold firm pressure without wobbling. If it feels loose, add an extra zip tie or replace with galvanized corner brackets for metal-to-wood connections. Avoid nails—they split wood over time. Once satisfied, trim any rough edges with sandpaper to prevent splinters.
☀️ Step 4: Reinforce and Finish for Longevity
Coat all wood with outdoor-rated sealant (like spar urethane) to prevent rot, especially at ground level. I apply two thin coats, letting each dry 4-6 hours between applications. For extra durability, wrap the bottom 6 inches of each stake with landscape fabric before planting—this blocks soil moisture that causes rot. If using painted wood, choose non-toxic, food-safe paint and let it cure 72 hours before planting.
Here's the thing—most store-bought cages collapse by midsummer. My reinforced version handles 10-pound tomato clusters without bending. To future-proof yours, add removable wire mesh (cut from hardware cloth) to the sides if you're growing indeterminate varieties. This gives vines extra grip when winds pick up.
⏰ Step 5: Plant and Train Vines for Maximum Support
Install your cage right after transplanting seedlings. Gently weave the main stem through the first horizontal slat and secure with a soft plant tie (never wire—it cuts stems). As vines grow, guide them clockwise around the cage (this prevents tangling). When suckers appear, trim them back to 3 leaves below the main stem—this directs energy upward where the cage can support it.
Watch for vine weight distribution. If one side sags, redistribute growth by tying more branches to the opposite side. I prune bottom leaves weekly to keep them off the soil (disease prevention) and encourage upward growth toward the cage's top. By mid-summer, your tomatoes will be hanging from the top slat—that's when you know it's working.
Tips & tricks for sturdy wooden tomato cages
Building a cage that won't collapse under heavy tomato vines takes a few key strategies—here's what I've learned after years of testing.
Materials Matter: The 4-foot cedar stakes are non-negotiable for rot resistance, but if you must use pine, apply two extra coats of sealant at ground level. I've seen pine cages last 3 seasons with this treatment. For the 3-foot slats, thicker wood (at least 1x2) prevents sagging under fruit weight—don't skimp here. The 12-inch intervals for supports are perfect for tomato vine growth patterns, but if you're growing indeterminate varieties, add an extra slat at 48 inches for that top-heavy growth.
Assembly Secret: When connecting the top slat in Step 2, I create a slight outward angle by pulling stakes apart before securing. This creates a natural tension that prevents the cage from collapsing inward when loaded with tomatoes. Use a 45-degree angle zip tie at each corner—this distributes weight better than straight vertical ties. For extra stability, I add diagonal braces at the 24-inch mark (as mentioned), but if you're short on time, just double the zip ties at this level.
Long-Term Protection: The 4-6 hour drying time between sealant coats is crucial—rushing this leads to sticky surfaces that attract dirt. For painted wood, I always let it cure 72 hours before planting, even though instructions say it's safe at 72 hours. The bottom 6 inches of stakes get extra protection with landscape fabric because this is where rot starts. I've had cages last 5+ years with this simple addition, while unprotected ones fail by mid-season.
Pro Tips for Build A Wooden Tomato Cage
- Building a cage that won't collapse under heavy tomato vines takes a few key strategies—here's what I've learned afte...
- Materials Matter: The 4-foot cedar stakes are non-negotiable for rot resistance, but if you must use pine, apply two ...
- Assembly Secret: When connecting the top slat in Step 2, I create a slight outward angle by pulling stakes apart befo...
Frequently asked questions
Got questions about building your wooden tomato cage? You’re not alone! Here are answers to the most common queries to help you craft the perfect support for your plants—without the guesswork.
What’s the best wood to use for a tomato cage?
Opt for cedar, redwood, or pressure-treated pine—they resist rot and pests. Avoid untreated wood, as it can warp or harbor mold. If budget is tight, galvanized metal cages are a durable alternative, but wooden ones add a rustic charm!
How long does it take to build one?
With pre-cut materials and basic tools, you can assemble a 4-foot-tall cage in under 2 hours. Break it into steps (like cutting and screwing) to stay efficient. Pro tip: Measure twice, cut once to save time!
Can I use a tomato cage for other plants?
These cages work for pepper plants, cucumbers, or even pole beans. Just adjust the height—taller cages (6+ feet) suit indeterminate tomatoes or vining plants. For herbs, a smaller, wider frame keeps them contained.
What if my cage collapses under the weight?
Reinforce weak spots with extra corner braces or diagonal supports. Use 3-inch deck screws (not nails) for stability. If using thin wood, add a second layer of horizontal slats midway up for extra strength.
When is the best time to build and plant?
Build your cage 1–2 weeks before transplanting seedlings (spring or early summer, depending on your climate). Plant tomatoes after the last frost when soil is 60°F+. A head start lets roots establish before vines need support!
Wrapping up and next steps
Building your own wooden tomato cage is a rewarding project that saves money and gives your garden a personalized touch! 🌱 With just a few basic materials and tools, you’ve got everything you need to create sturdy, customizable supports for your tomato plants.
Whether you’re a seasoned DIYer or a beginner, this project is simple enough to tackle in under two hours—perfect for a weekend gardening adventure.
Now that you’ve got the know-how, roll up your sleeves and start building! Once your cages are ready, watch your tomato plants thrive with the support they deserve. Happy gardening! 🍅